6 Tips for How to Renovate Your RV Walls
Job Materials List below
If your RV looks a bit drab, it’s probably time to add a new look. There’re several easy and less permanent ways of adding a personal touch to your RV, but from experience, none is as impactful as RV wall painting.
It’s easy to transform your camper space into a lovely haven by adding colors to the walls and cabinets.
However, this simple job is tedious, especially when you’re committed to a full-time RV lifestyle. It’s also a long process.
But the good thing is the hassle is worth it; a can transform your old camper and make it look good as new.
In fact, I’d even go as far as saying RV wall renovation is the best thing you can do to make an old RV look fresh and new.
Now, if you’re interested in RV wall renovation, read on. In this guide, I’ll share my experience and detail the steps I took when renovating my camper.
Beginners-Choose an Accent Wall
If you’re a beginner and still unsure about the whole RV wall renovation thing, I suggest you start with the accent wall. It allows you to test the waters and see whether you can DIY the entire RV.
Accent walls usually get a lot of flack in the interior design industry because they’re super-simple and are a hard-to-get wrong way of introducing color.
And if by any chance you get it wrong on the accent, you can always paint it to a neutral color, and it won’t be noticeable.
Painting an accent wall is also much cheaper, easier, and less work than painting all the RV walls.
Identifying an accent wall should also be fairly simple. An accent wall does two main things: make your RV living space different from everywhere else and make the experience much better.
In short, it’s the viewpoint of the main highlight of your RV. And depending on your RV’s size and design, you may have multiple accent walls.
Selecting a Color/ Color Scheme
Unless you have an eye for color, selecting a color scheme is one of the challenging aspects of RV wall renovation.
As with painting a traditional home, getting the colors wrong for your RV may botch the entire renovation and RV aesthetics.
However, getting the color scheme for your RV isn’t challenging either. I’ve painted a lot of RVs over the years, and the most reliable way to find the perfect color is to find some color cards and bring them to your RV.
Place them on the wall and narrow it down to the few you like. From there, head to your local hardware store, buy the samples of the colors you like and paint some on 1×1 or 2×2 areas on all the walls.
Adding on to this, you could also get multiple chips for each room and look at the swatches in natural light from the windows. Close the curtains/blinds, and then turn on all. Do the same at night.
It may take a while before you narrow it down to your choice of color. I’m not a color expert, but here are a few color-selection guidelines that help me:
- Pick a color that complements the RV floor, cabinet, furniture, and home décor
- Stay away from black or brown. My favorite colors are neutrals like tan, cream, off-white, and taupe.
- Avoid colors too close in the color wheel. For example, your walls shouldn’t be off-white if your ceiling is white. Instead, they should match (all white or all off-white) or better contrast.
- Avoid bright colors. You can always add pop to your RV space through other items such as pillows or décor
Gathering Paint and Supplies
Congratulations, you’ve now narrowed down your choice of RV color. The next step is gathering all the important painting supplies.
Along with the brushes, scrubbers, cleaners, painter’s tape gloves, and everything else, two other crucial supplies you shouldn’t skimp on are the paint and primer.
Regarding the choice of paint, I suggest you reach out to the experts at any good Paint center. Remember, the ideal choice of paint depends on your RV’s wall surface, and they can advise you on the best paint.
The other important supply is the primer. In the primer department, you’ve a list of options to pick from, but Glidden Professional Gripper and Kilz Adhesion are two of my favorite options.
These primers use a high-bonding formula, and they grip like glue. They’re versatile and stick to different RV walls, including vinyl, wood, and veneer. The slippery surfaces aren’t left out, either.
Prepping RV Walls
RV walls are different from house walls. There’re no perfectly angled corners or paint-ready walls. The wooden RV walls, therefore, need some prepping, and you can’t just slap paint on them.
Another thing to remember is that the RV walls will need more paint than you think. They usually take up more paint compared to a similarly-sized house, so managing your expectations is good.
-
Clean the RV Walls
The first step of RV prepping is cleaning the walls. Many DIYers skip this process, but it’s as important as the painting itself.
I usually start the RV cleaning process by removing anything that can be hit by flying paint. It includes picture frames, switch plates, vent covers, door knobs, hinges, etc.
The next important part is degreasing the walls. I remove all the sticky substances, limy stuff on the wall, dirt, and grime.
There’re a couple of wall cleaners in the market, but I like to DIY and use a mixture of water and white vinegar on a 50/50 basis.
Whatever cleaner you use, you must rinse with clean water and allow the walls to dry before sanding.
-
Repair the holes
RV walls hardly play nice, and you’ll likely encounter stripped-out screw holes here and there in the cleaning process.
On the inside of the RV, the holes could happen anywhere from skylight framing to window curtain tensioners.
When this happens, part of the wall usually rises up, creating a tiny “ant hill.”
A method I use to address minor damages is filling the holes with epoxy or any suitable wood filler. I then allow the filler to dry before sanding the area until it’s free from any paper edges or wood splinters.
-
Is sanding, Necessary?
There’re mixed reviews on the need for sanding during RV wall renovation.
In my opinion, it boils down to the type of RV wall surface, and it’s not an absolute must, as many DIYers tend to put it.
Sanding aims to rough up the surface a bit so the Gripper bonds well. But here’s the thing, some of the RV wall materials are naturally rough.
For example, most vinyl and wood laminates are patterned or grained enough to allow proper bonding, so sanding isn’t necessary.
However, sanding is necessary if you plan to paint shiny and slippery surfaces such as cabinets. Otherwise, the paint will peel off right the walls.
In short, you should do a test before jumping to a conclusion, as some of the walls are shiny, while others are rough.
-
Priming
From experience, priming is the main building block for a good painting job. It provides a foundation to which the top coats bond.
It improves the overall paint adherence and may also improve the longevity of the paint.
Painting
After the RV wall prep, you’re ready to paint. Painting is easy, but you must ensure the Gripper has dried sufficiently.
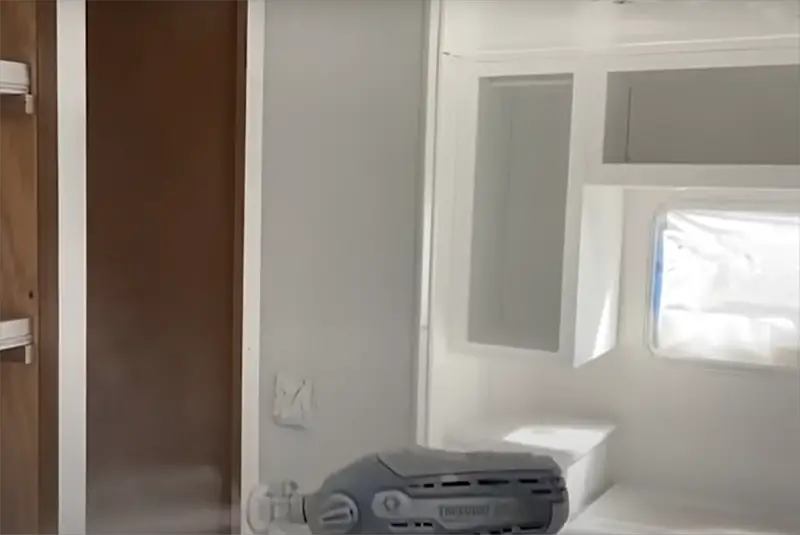
Use a roller with the biggest nap to paint the wall. I’m a big favorite of the furry roller because they hold more paint and can access the grooves and nooks in most RV walls. They also make the painting job less of a hassle and quick.
Once the paint dries thoroughly, you could apply a 2nd coat if needed.
Cleanup and Maintenance
The only pesky maintenance I can think of is addressing the cracks between the ceiling mounding and the walls. These cracks tend to happen a lot if you’re traveling.
So, keep some of the paint with you in air-tight containers, and occasionally touch up these cracks with a brush as they appear.
Recommended items for your walls renovation
[amazon box=”B07V2MLVQH,B083CZ6ZQ5,B07H32N1PV,B00NO3GC52,B0000AXT76,B01NCKMIDJ,B07MX9GYGM,B00009V3UZ,B07KXNL5G8,B01N0PAIXQ”]
[amazon box=”B001FC98X2,B007TUF0FY,B002MBX2QE,B07PKV279Y,B01B4G3RC6,B0BDYMGC3C,B09YXLR47P,B089NYWHJ5,B002GD2E94,B08BNCY15Z”]


